Building a workflow
Open the editor, add a trigger, connect nodes, configure connectors, and run your first workflow.
This walkthrough takes you from an empty agent to a running workflow. Each step maps to a real action in the editor UI.
Open the Workflows tab
Navigate to your agent. In the agent sidebar, click Workflows. You see a list of the agent's workflows (empty if this is new).
Click New workflow (the + button). A dialog asks for a name, an optional description, and a trigger type. Choose a trigger type now — you can change it later in the editor. Click Create.
The workflow opens in the editor.
Add a trigger node
The canvas starts empty. Open the node palette by clicking the panel toggle button (top-left of the toolbar, looks like a panel icon) if it is not already open.
In the palette's Triggers group, find the trigger that matches how your workflow should start:
- Manual Trigger — run by hand or via API.
- Webhook Trigger — fires when an HTTP POST arrives at a generated URL.
- Schedule Trigger — fires on a cron schedule (e.g. every weekday at 09:00 UTC).
- Event Trigger — fires on an in-platform event.
Drag the trigger node from the palette onto the canvas and drop it anywhere. Alternatively, click the node in the palette and it appears at the centre of the canvas.
Add and connect subsequent nodes
Drag additional nodes from the palette onto the canvas. Place them to the right of (or below) the trigger.
To connect two nodes, hover over the source node until the output handle (a small circle on the edge of the node) appears, then drag from that handle to the input handle of the destination node. A bezier or smooth-step edge appears between them.
You can connect from any output handle. Branching nodes expose multiple named handles:
- AI Classify — one handle per category you define.
- Condition — True and False handles.
- Switch — one handle per case, plus a Default handle.
- Human Approval — Approved and Rejected handles.
- Loop — Loop Body (runs each iteration) and Done (runs when iteration is complete).
To remove an edge, click it to select it, then press Delete or Backspace.
Use Auto Layout (the grid icon in the toolbar) to tidy up node positions automatically. You can switch between horizontal (left-to-right) and vertical (top-to-bottom) layout with the arrow toggle next to it.
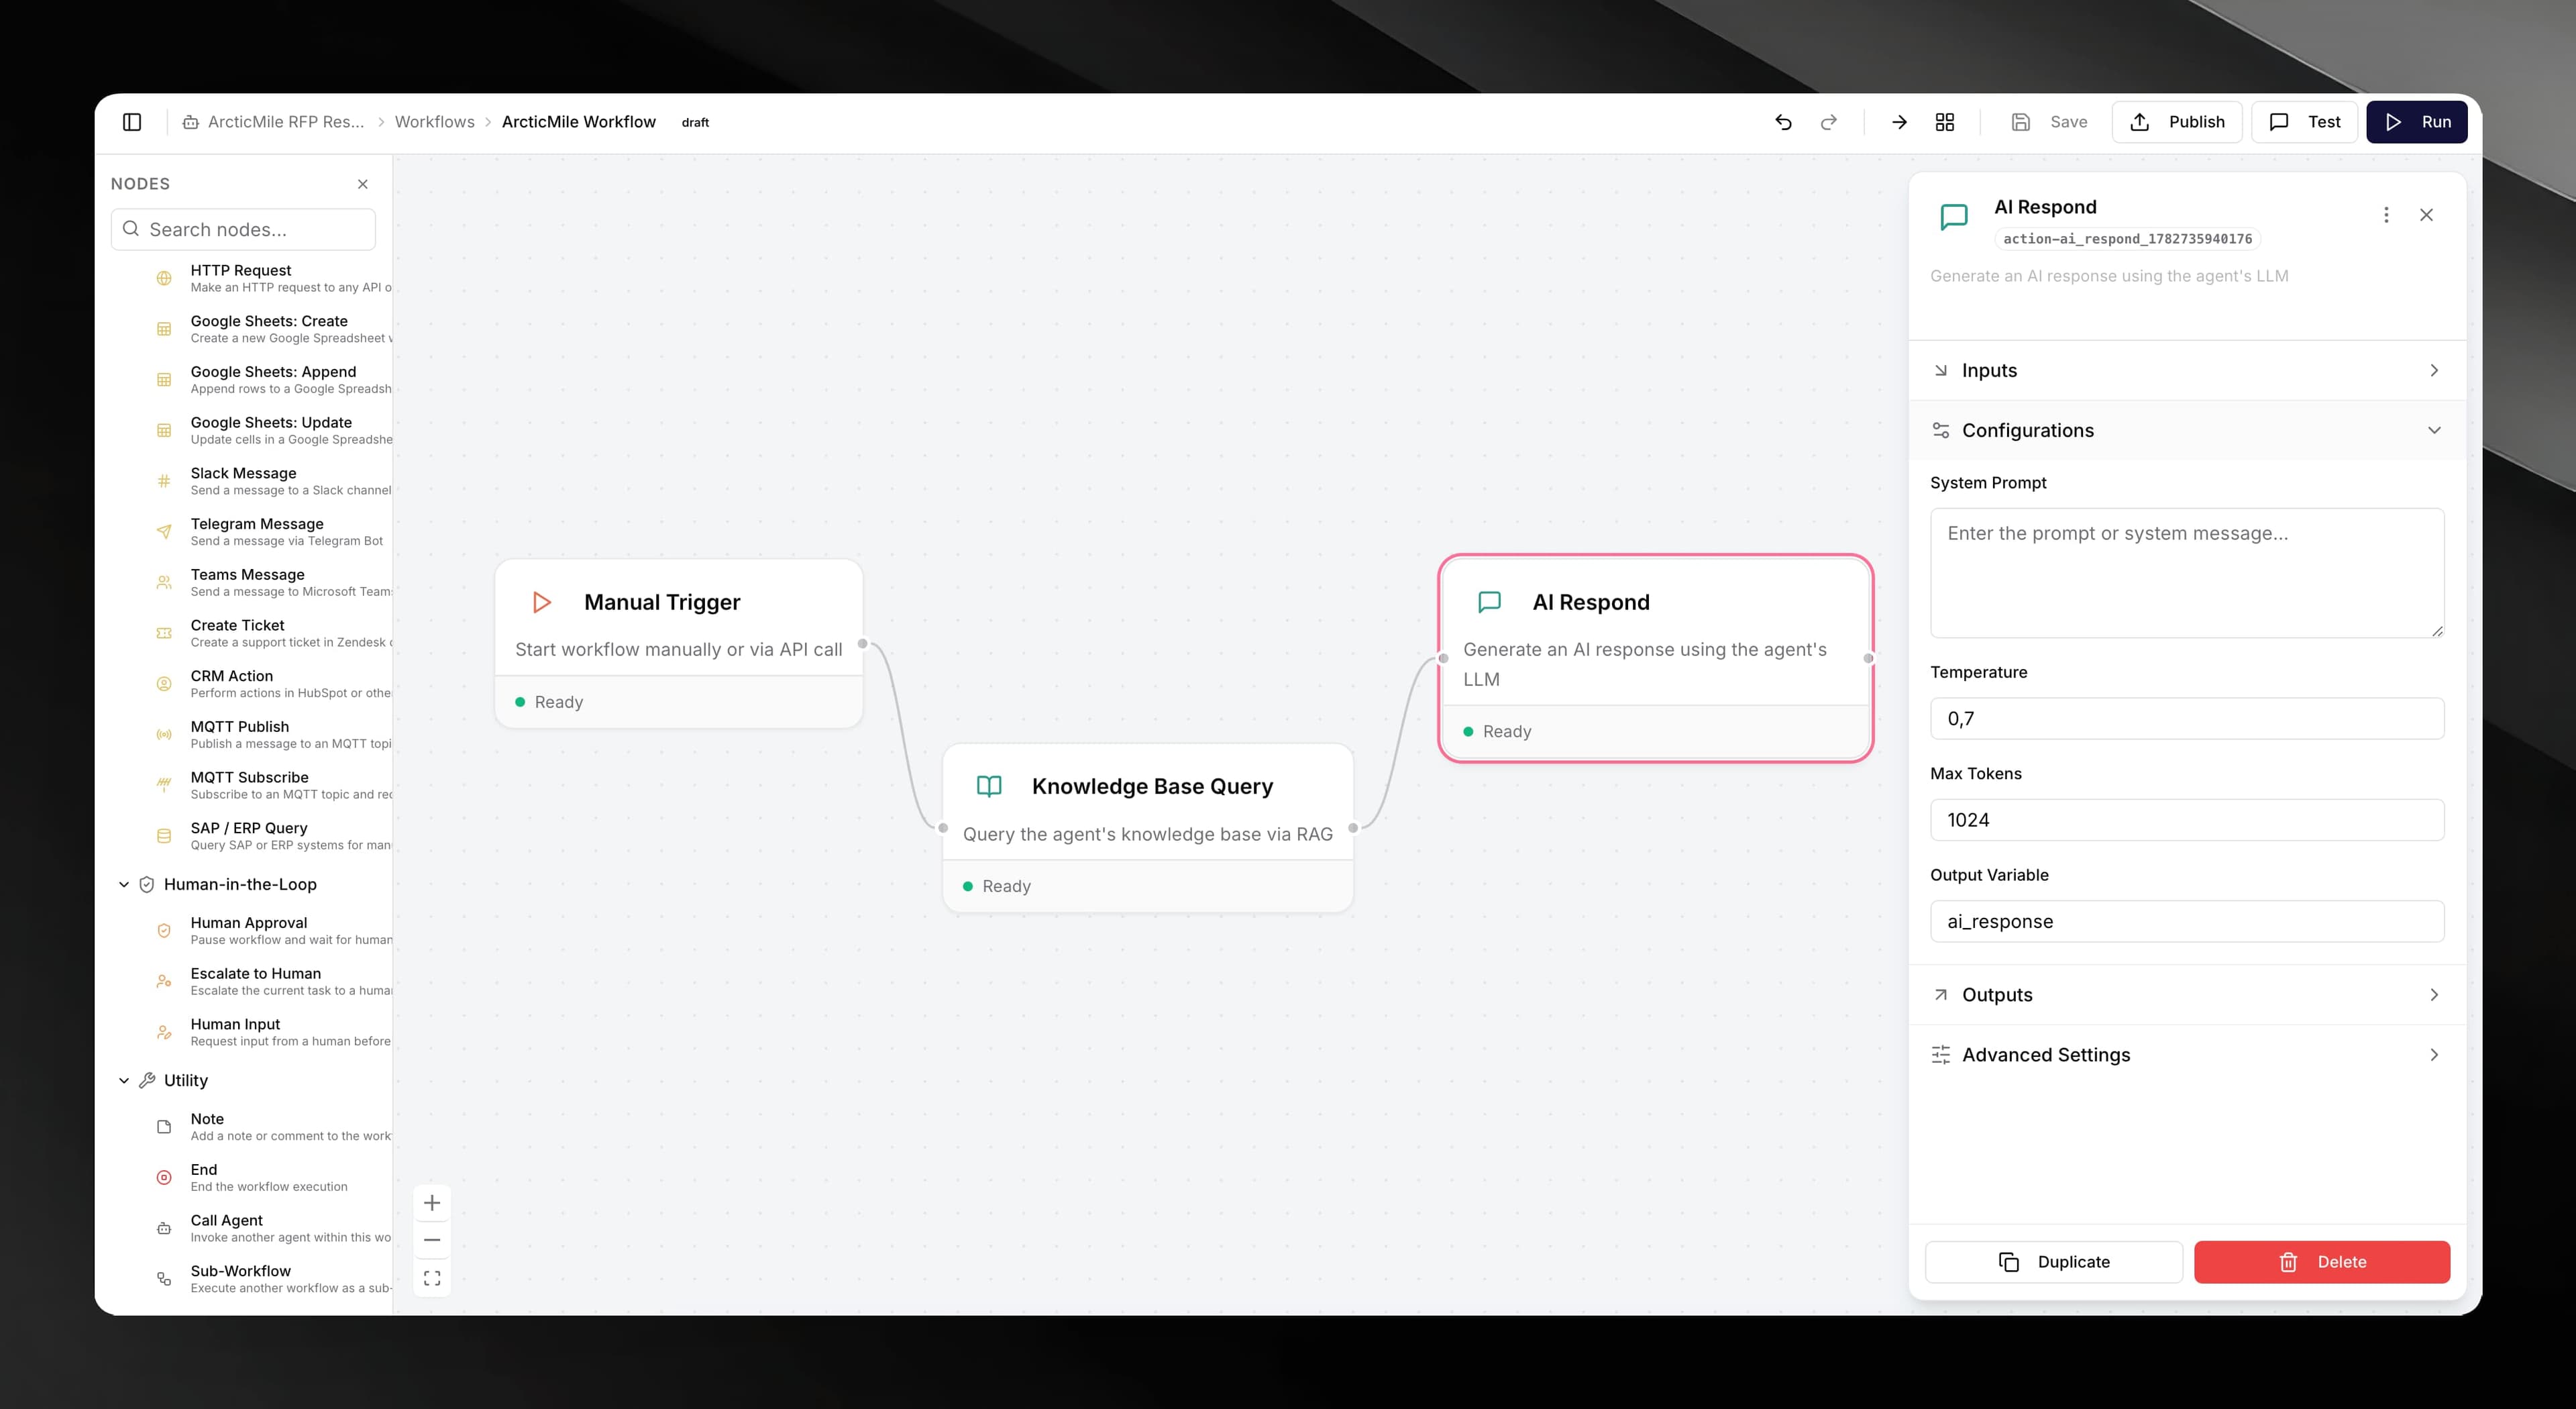
Configure a node
Click any node on the canvas. A configuration panel slides in from the right side of the canvas (width 340–620 px; drag the left edge to resize it).
The panel shows:
- Label — a human-readable name for the node, shown on the canvas.
- Inputs — fields that take static values or
{{variable}}references to prior-node outputs. - Configuration — node-specific settings (e.g. temperature for AI nodes, cron expression for schedules, HTTP method for HTTP Request).
- Outputs — the variable name where the node stores its result (e.g.
ai_response,http_response). - Advanced — retry settings (enable retries, max retry count) and a timeout in seconds.
Fill in the required fields. Required fields are marked; the node shows a warning indicator on the canvas if any required field is empty.
Click the canvas background (outside any node) to close the configuration panel.
Connect a connector credential
Integration nodes (Send Email, Slack Message, HTTP Request, etc.) need credentials before they can run. When you open the configuration panel for one of these nodes, a Connection section appears at the top of the panel.
Click Connect (or the provider name) to open the credential setup for that service. Enter the required credentials — for example, a Gmail OAuth refresh token, a Slack bot token, or a Twilio Auth Token. The panel shows inline help text and, for some providers, a Setup guide with step-by-step instructions for obtaining credentials.
Once credentials are saved, the connection section shows a green connected status and the node's credential is persisted against the workflow.
See Connectors for detailed per-service setup guides.
Credentials are stored securely and scoped to your agent. Each integration node in a workflow can reference only one active credential per provider.
Save your work
The editor auto-saves 3 seconds after any change. The toolbar breadcrumb shows an Unsaved badge (amber) while changes are pending and clears it when the save completes.
To save immediately, press Ctrl + S (or Cmd + S on Mac), or click the Save button in the toolbar.
Use Undo (Ctrl + Z) and Redo (Ctrl + Shift + Z) to step through canvas changes.
Publish and run
Saving preserves your draft. To make a workflow executable, you must Publish it — click the Publish button in the toolbar. Publishing snapshots the current canvas as a versioned live release.
Once published, you can execute the workflow in two ways:
Run (Execution Monitor)
Click the Run button in the toolbar. The editor saves and opens the Execution Monitor — a side panel that shows:
- Live status of each node (running, completed, failed, pending approval).
- An execution log with timestamps and per-node duration.
- A history of previous executions you can select to replay logs.
- A Cancel button to stop a running execution.
Node status is reflected live on the canvas: nodes highlight as the execution moves through them.
Test (Chat Panel)
Click the Test button to open a chat panel that lets you talk to the agent with the published workflow active. This is useful for testing webhook-triggered or event-triggered workflows interactively.
Keyboard shortcuts
| Shortcut | Action |
|---|---|
| Ctrl / Cmd + S | Save |
| Ctrl / Cmd + Z | Undo |
| Ctrl / Cmd + Shift + Z | Redo |
| Delete / Backspace | Delete selected node or edge |