Notifications
Configure email notifications for agent feedback events, including SMTP settings and custom email templates.
Mojar can send you email notifications when events happen on your agents — for example, when a user leaves negative feedback. You configure this under User Profile → Notifications.
Email channel
Click Email to open the email notification settings. The page is split into two tabs: Configuration and Templates.
Configuration tab
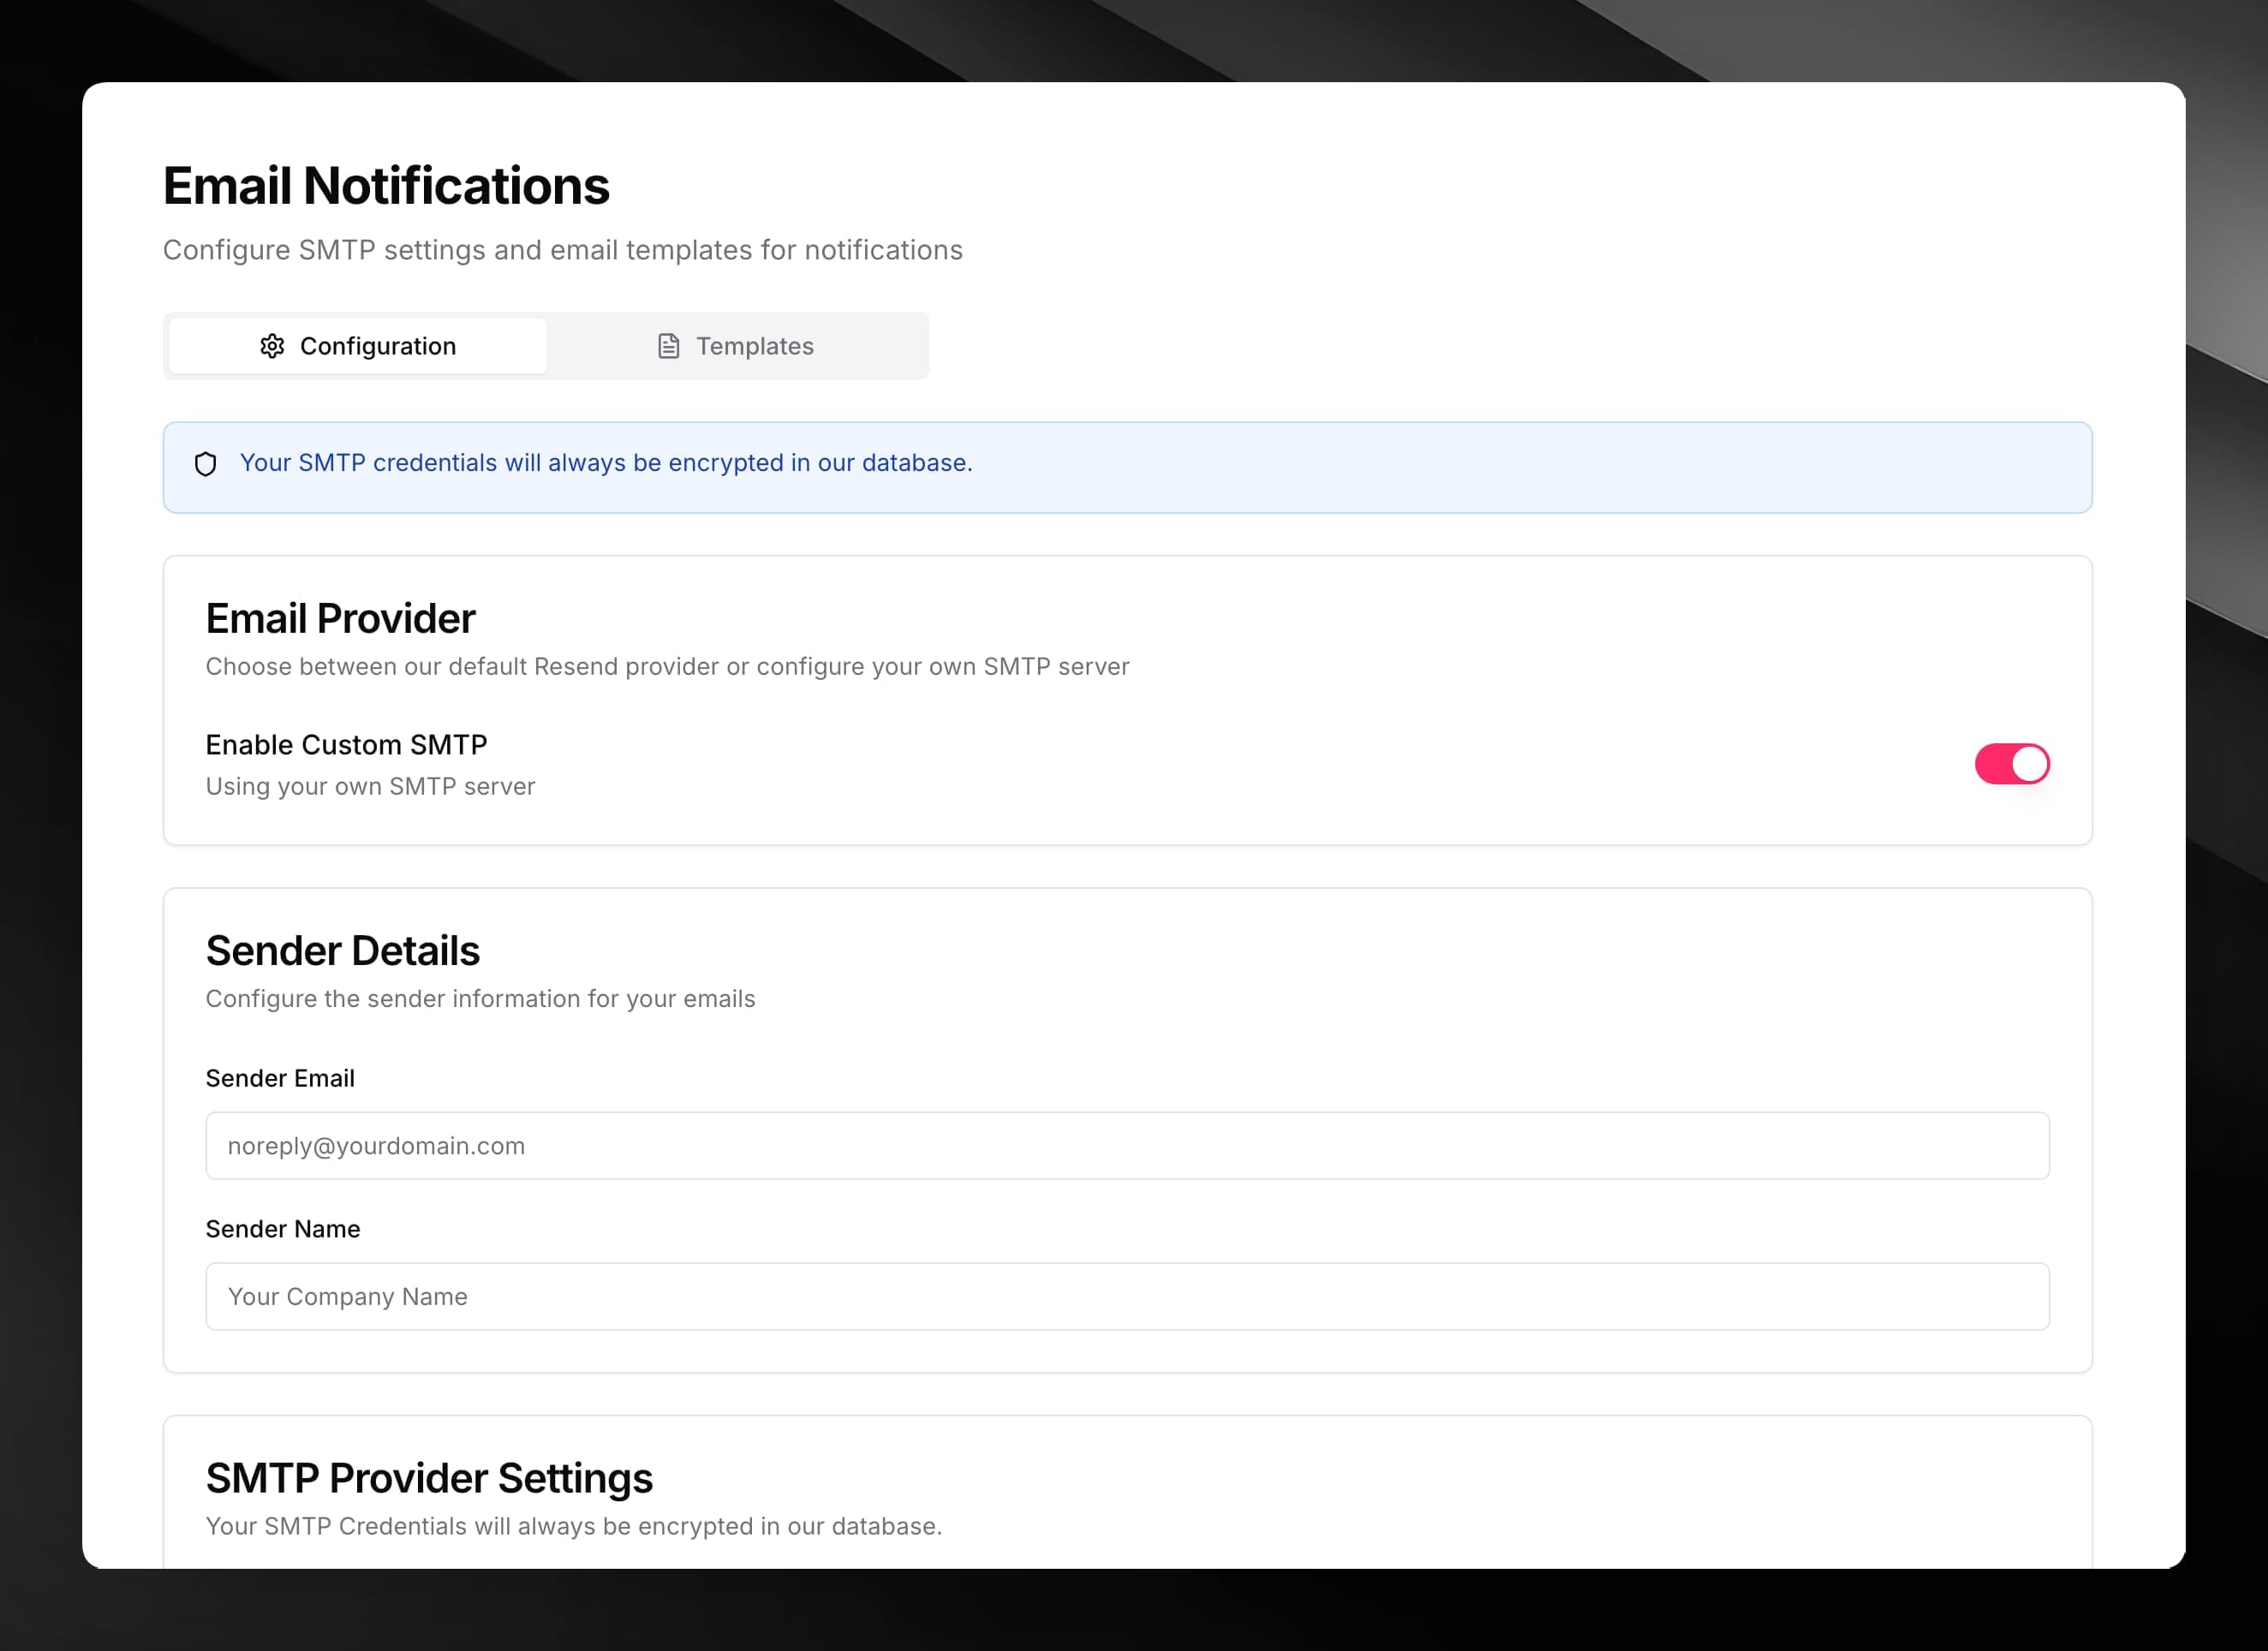
The Configuration tab controls which mail provider Mojar uses to send notifications.
Default provider (Resend)
By default, Mojar sends email through its built-in Resend integration. No setup is needed to use this.
Custom SMTP
If you want notifications sent from your own mail server, enable the Enable Custom SMTP toggle. When enabled, three additional sections appear:
Sender Details
| Field | Description |
|---|---|
| Sender Email | The From address, e.g. noreply@yourdomain.com |
| Sender Name | The display name, e.g. "Your Company Name" |
SMTP Provider Settings
| Field | Description |
|---|---|
| Host | Hostname or IP address of your SMTP server |
| Port Number | Port used by the server — common values are 465 and 587 (avoid port 25) |
| Username | SMTP authentication username |
| Password | SMTP authentication password — write-only; once saved it cannot be retrieved or displayed |
| Minimum Interval (seconds) | Minimum time between outgoing emails to prevent spam; defaults to 60 s |
SMTP credentials are always encrypted before being stored.
Click Save Configuration to apply your settings.
Templates tab
The Templates tab lets you customise the email Mojar sends when a user gives negative feedback on an agent response.
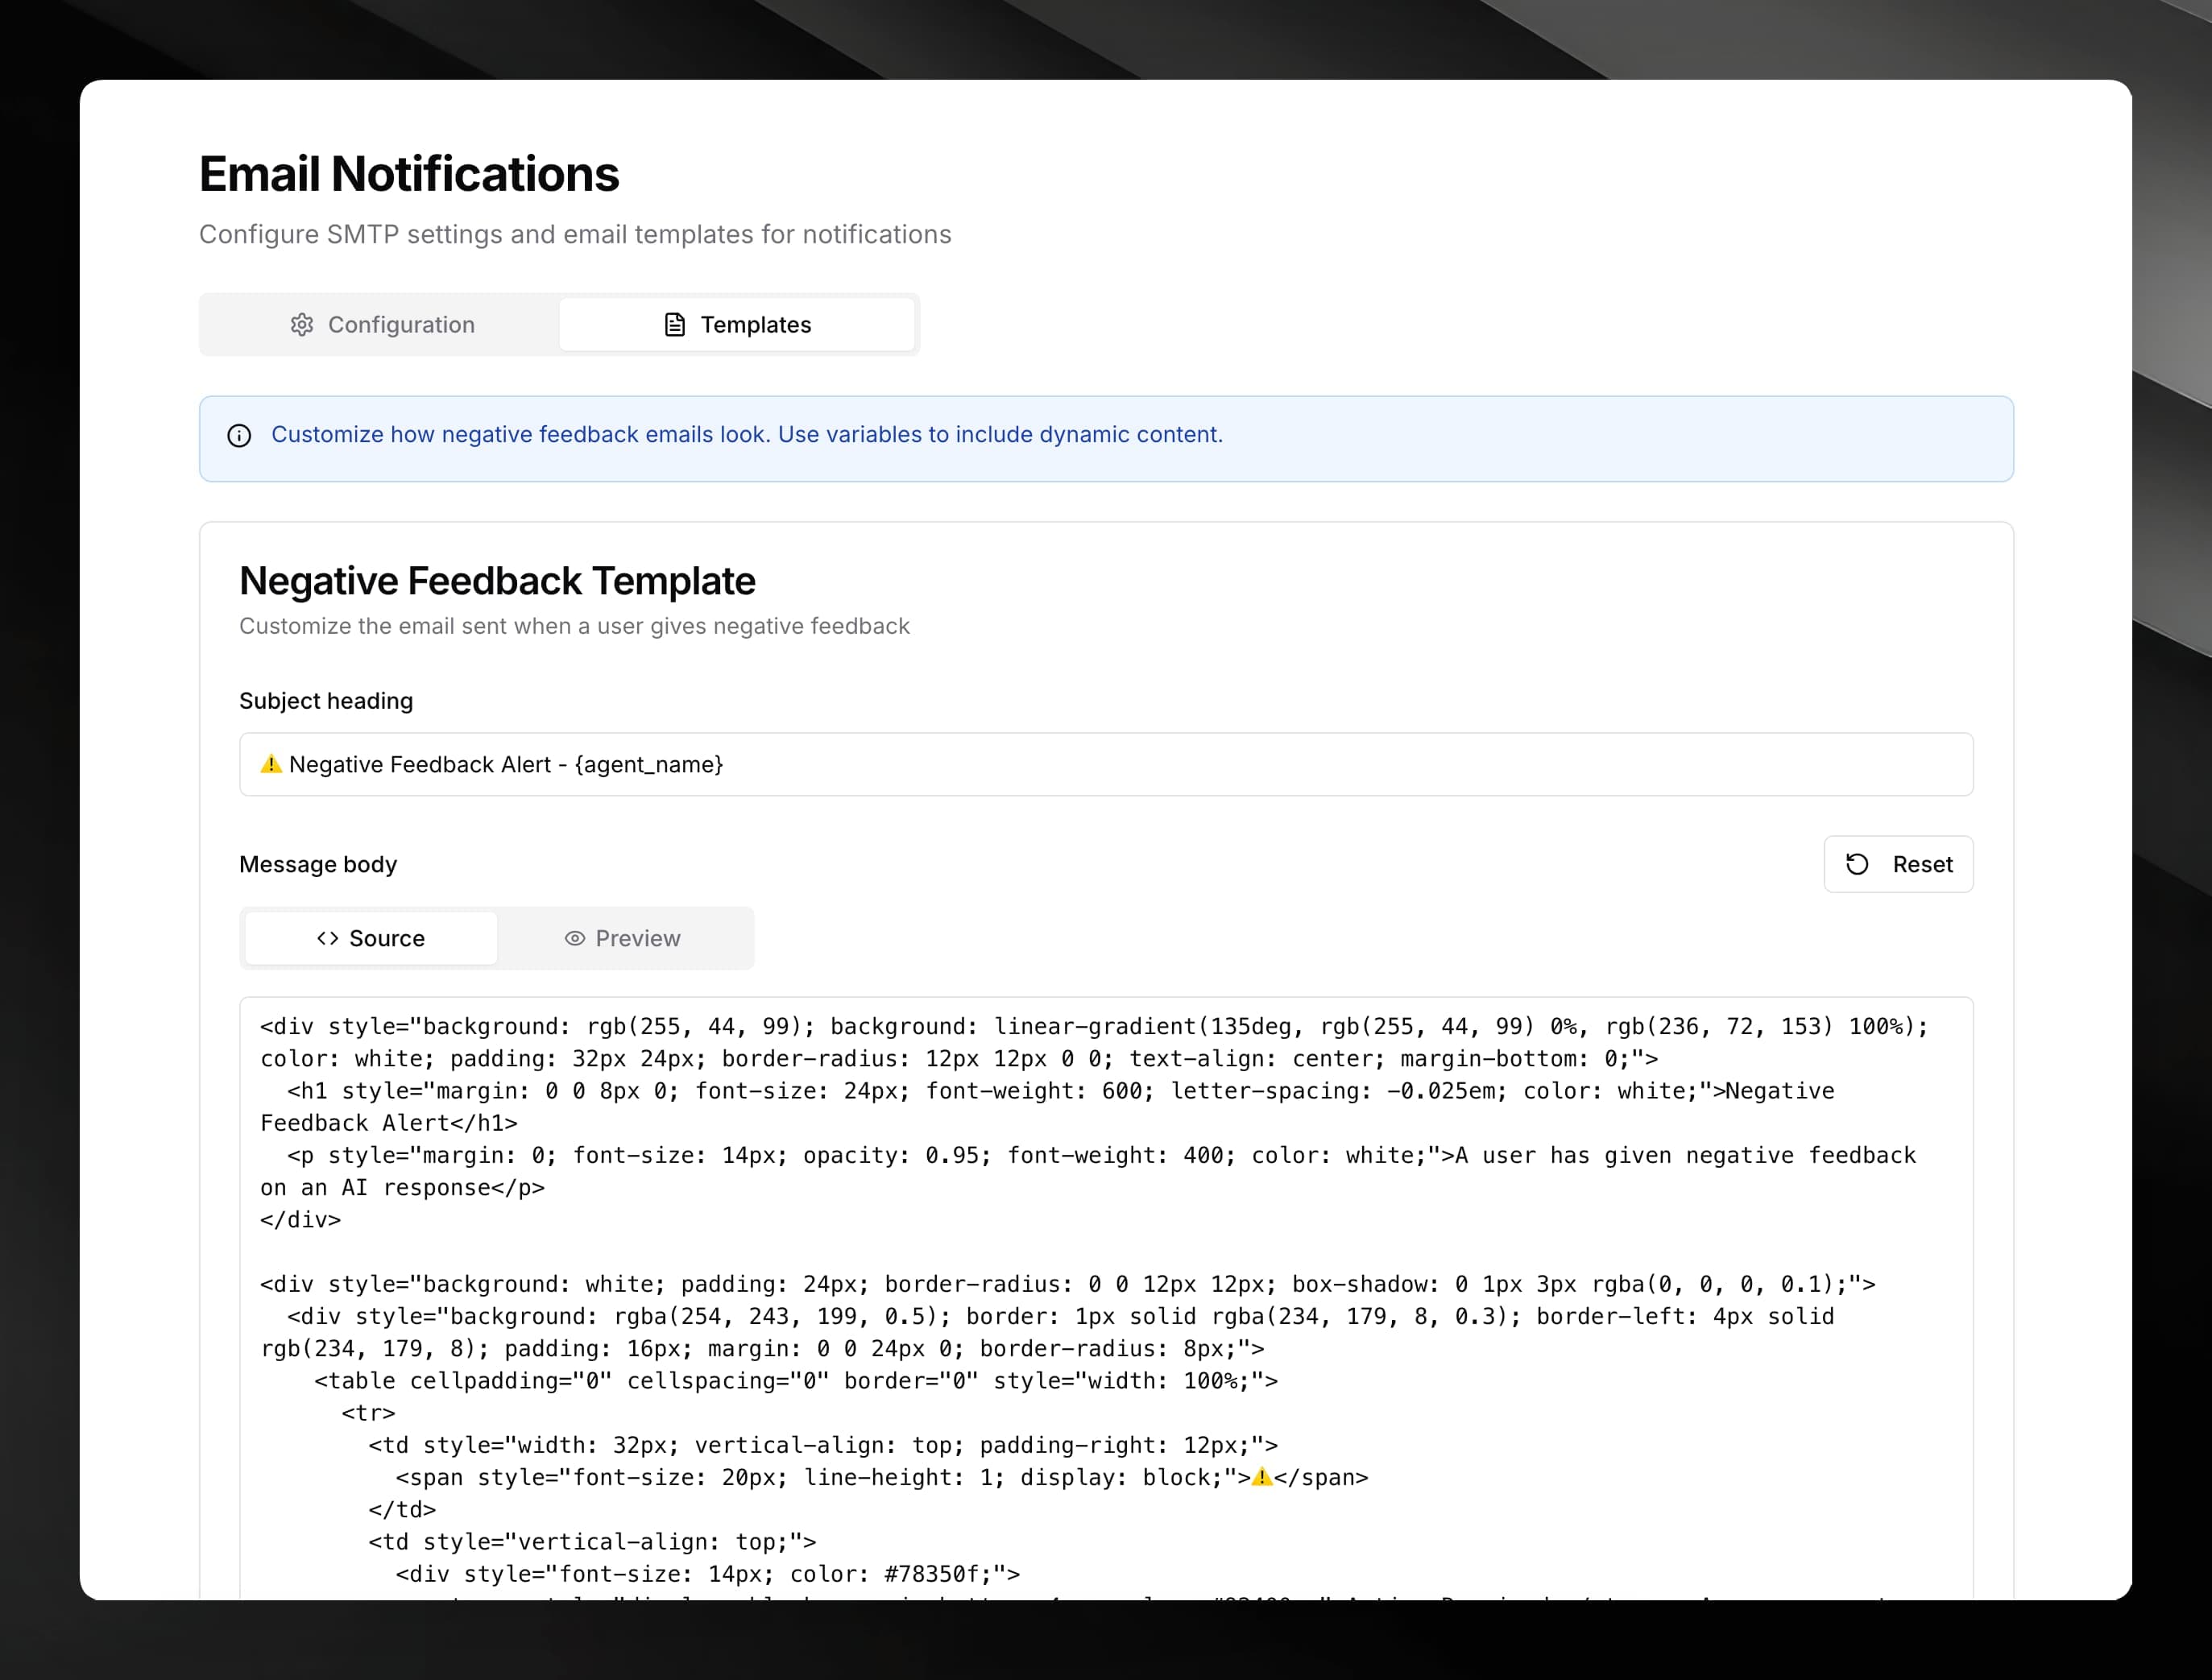
The template has two fields:
- Subject heading — the email subject line. The default is
⚠️ Negative Feedback Alert - {agent_name}. - Message body — the HTML body of the email. You can edit the source directly in the Source view, or switch to the Preview tab to see how it will render.
Use {agent_name} and other dynamic variables in both fields to include context about the specific event.
To restore the original template, click Reset. Click Save Template to save your changes.