Help Scout
Create conversations, send replies, and update status in Help Scout from a workflow.
The Help Scout connector lets your agent create new support conversations, reply to existing ones, fetch conversation details, and change a conversation's status — all as workflow steps.
What you can do
| Action | What it does |
|---|---|
| Create conversation | Opens a new email conversation in a Help Scout mailbox, with a subject, body, and customer email. |
| Reply | Posts a reply thread to an existing conversation. |
| Get conversation | Reads a conversation's subject, status, state, tags, and customer email. |
| Update status | Changes a conversation's status (e.g. to closed, active, or pending). |
All text fields support {{variable}} template syntax.
Before you start
You need:
- A Help Scout account with the Docs API or Mailbox plan.
- A Help Scout App (OAuth2 client credentials) — an App ID and App Secret.
- The Mailbox ID of the mailbox where conversations should be created.
Help Scout uses OAuth2 client credentials for machine-to-machine authentication. You create a "My App" to obtain the App ID and App Secret — no user login is required at runtime.
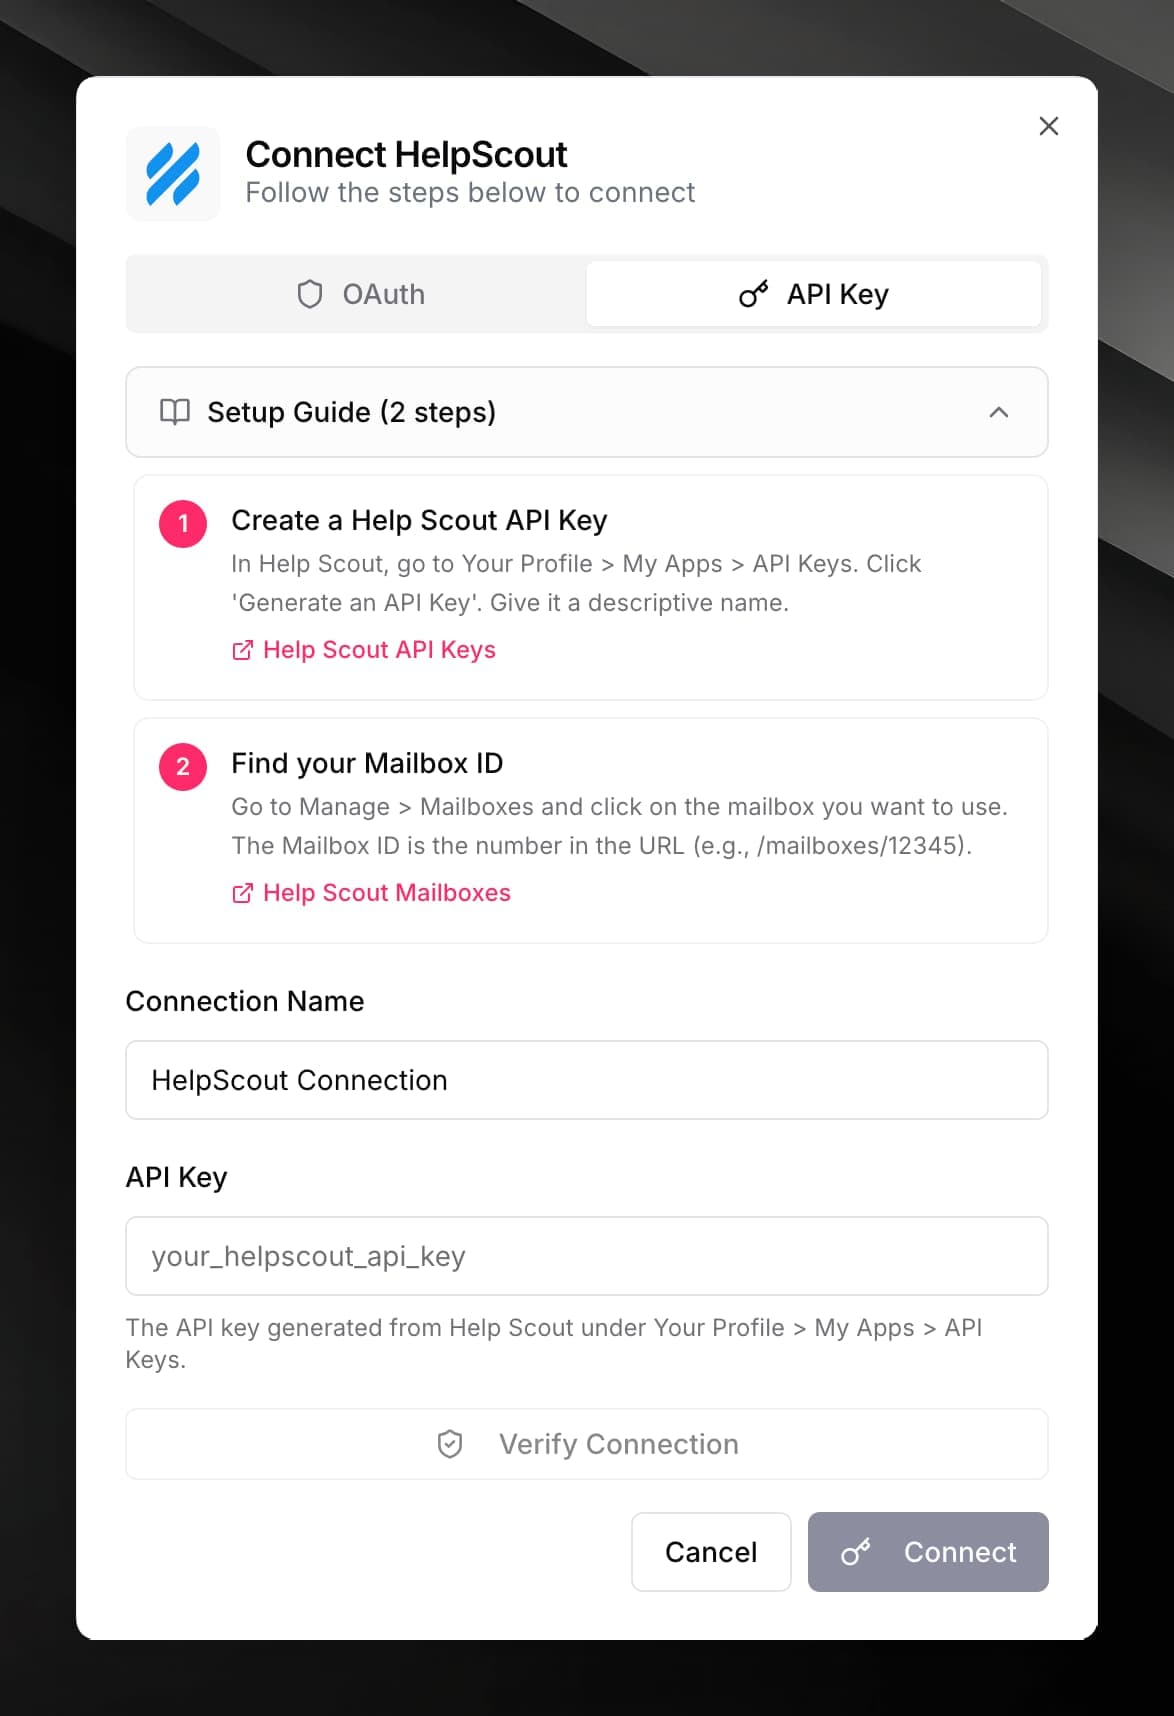
To create a Help Scout app and find your mailbox ID:
/mailboxes/12345 → ID is 12345.Connect Help Scout
Fill in the credential form:
| Field | Value |
|---|---|
| App ID | The OAuth2 client ID from Your Profile → My Apps |
| App Secret | The OAuth2 client secret from the same page |
| Mailbox ID (optional) | Numeric ID of the default mailbox; can be overridden per node |
Use it in a workflow
Fill in the action fields. Key fields by action:
Create conversation
- Subject — the conversation subject line
- Body — the initial message body (HTML is supported)
- Customer Email — the customer's email address (required)
- Mailbox ID — overrides the default mailbox set in credentials
- Status (optional) — defaults to
active - Tags (optional) — comma-separated
Reply
- Conversation ID — the numeric Help Scout conversation ID
- Body — the reply text
Get conversation / Update status
- Conversation ID — the numeric Help Scout conversation ID
Update status additionally requires:
- Status —
active,closed, orpending
conversationId you can reference in later nodes.The Conversation ID is different from a ticket number visible to the customer. You can capture it from the output of a Create conversation node and pass it downstream via a workflow variable.