HTTP and Webhook
Call any external API or send data to a webhook URL from a workflow node.
The HTTP / Webhook connector is a general-purpose node that can make any HTTP request — GET, POST, PUT, PATCH, or DELETE — to any URL. Use it to integrate with services that don't have a dedicated connector, or to send data to a webhook endpoint.
What you can do
- Call an external API — send requests to any REST endpoint, with custom headers, a JSON body, and query parameters.
- Post to a webhook — fire a payload at a service's inbound webhook URL (Zapier, Make, n8n, your own server, etc.).
- Read API responses — the node captures the status code, response headers, and parsed body, which downstream nodes can reference via variables.
All URL, body, header, and query-parameter fields support {{variable}} template syntax.
Before you start
The HTTP / Webhook connector requires no credentials to use for public endpoints. For authenticated APIs, you can supply credentials in one of three ways:
| Auth method | How to set it up |
|---|---|
| API key header | Enter an API key and the header name (default: Authorization) in the connector settings |
| Bearer token | Enter a bearer token; the connector adds Authorization: Bearer <token> automatically |
| Basic auth | Enter a username and password; the connector base64-encodes them into the Authorization header |
| Custom headers | Add any headers as JSON directly on each workflow node |
Credentials entered in the connector settings become the default for all nodes that use this connector. You can override them per-node using the Headers field.
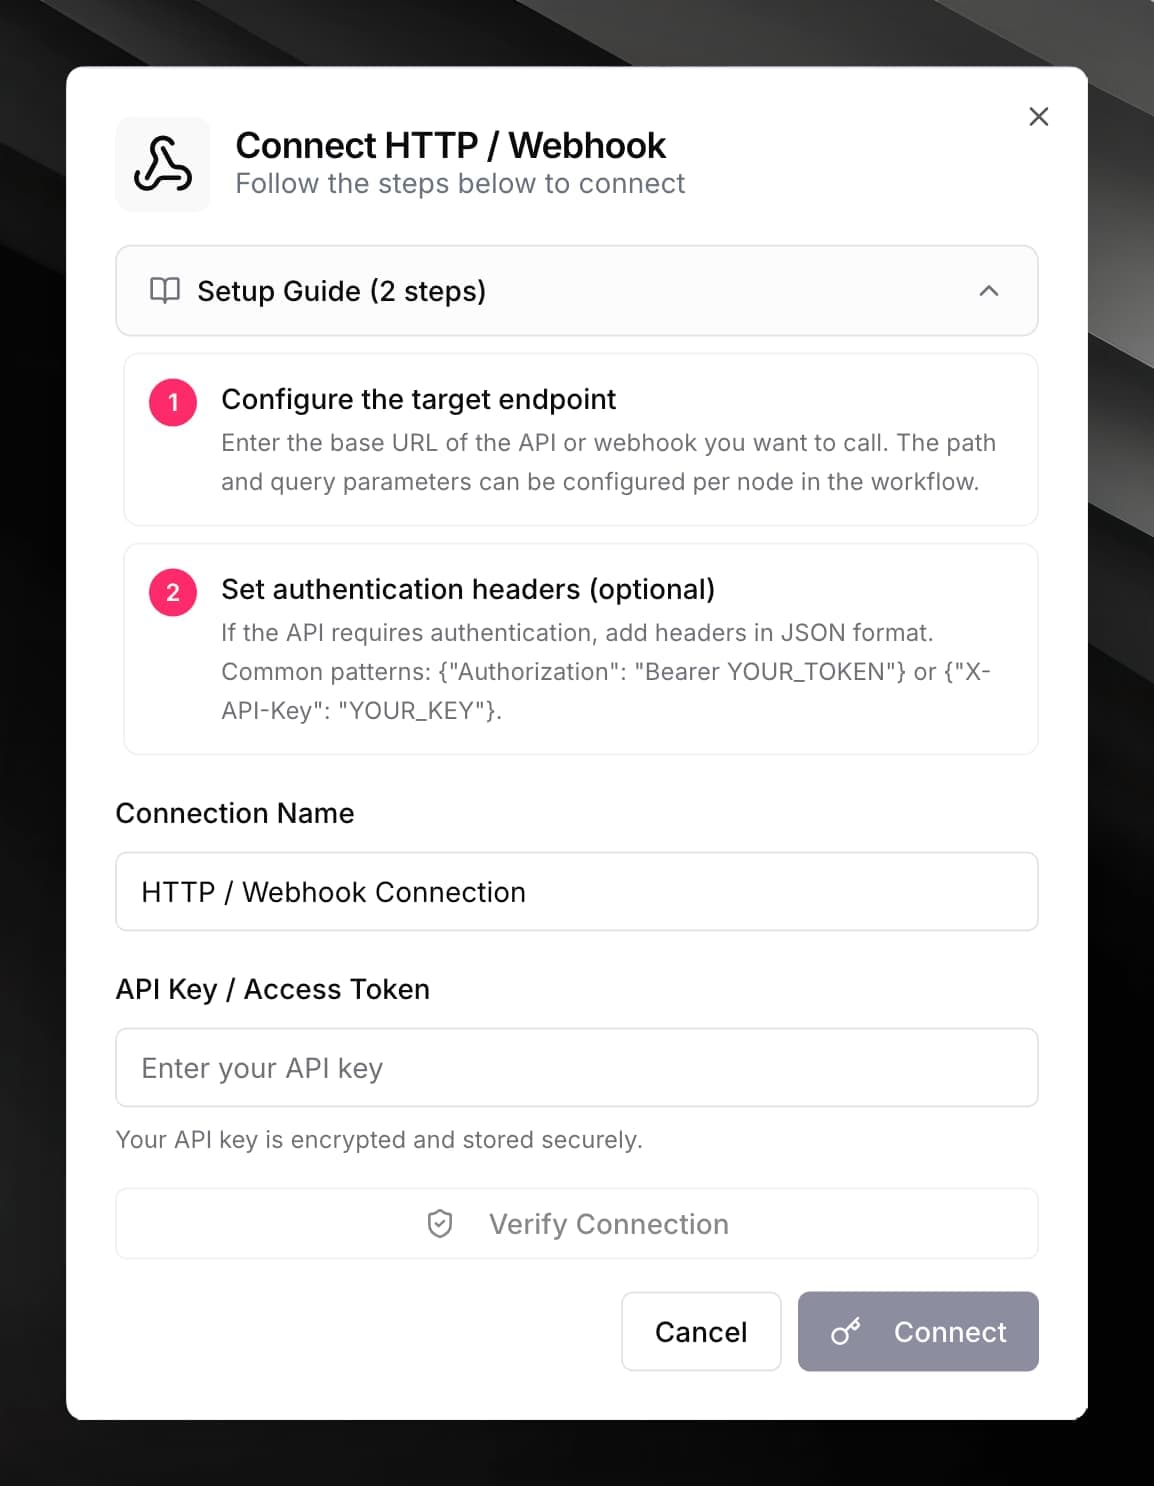
Connect HTTP / Webhook
Fill in the optional credential form:
| Field | Value |
|---|---|
| Base URL (optional) | A shared prefix for all requests, e.g. https://api.example.com. Leave empty if you'll provide the full URL per node. |
| Default Headers (JSON) (optional) | JSON object of headers applied to every request, e.g. {"Authorization": "Bearer YOUR_TOKEN"} |
Use it in a workflow
Fill in the node fields:
| Field | Description |
|---|---|
| URL | The full URL, or a path appended to the Base URL. Supports {{variables}}. |
| Method | GET, POST, PUT, PATCH, or DELETE |
| Body | Request body for POST / PUT / PATCH. Use JSON. Supports {{variables}}. |
| Headers | Additional headers as JSON, merged with the connector's default headers. |
| Query parameters | URL query parameters as a JSON object, e.g. {"page": "1", "limit": "20"}. |
| Content-Type | Defaults to application/json. Change to application/x-www-form-urlencoded if needed. |
| Timeout | How long to wait for a response in milliseconds. Default: 30 000 (30 s). |
| Accepted status codes (optional) | Comma-separated list of status codes treated as success, e.g. 200,201,204. If omitted, any 2xx is success. |
statusCode, body (parsed JSON if the response is JSON, otherwise plain text), and headers.Example: call a REST API with a Bearer token
{
  "url": "https://api.example.com/v1/orders/{{order.id}}",
  "method": "GET",
  "headers": "{\"Authorization\": \"Bearer YOUR_API_TOKEN\"}"
}
Example: post to a webhook
{
  "url": "https://hooks.zapier.com/hooks/catch/123456/abcdef/",
  "method": "POST",
  "body": "{\"customer\": \"{{customer.name}}\", \"event\": \"{{trigger.event}}\"}"
}
If the response status code is outside the success range (or outside your Accepted status codes list), the node marks the workflow step as failed and includes the response body in the error message for debugging.