Connectors
Zendesk
Create, update, and query Zendesk tickets from an agent workflow.
The Zendesk connector lets your agent create support tickets, update their status and priority, add comments, and retrieve ticket details — all as steps inside a workflow.
What you can do
| Action | What it does |
|---|---|
| Create ticket | Opens a new ticket with a subject, body, priority, optional requester email, and tags. |
| Update ticket | Changes the status, priority, or assignee of an existing ticket. |
| Get ticket | Reads a ticket's subject, status, priority, description, and tags. |
| Add comment | Posts a public or internal comment to an existing ticket. |
All text fields support {{variable}} template syntax so you can inject data from earlier workflow nodes.
Before you start
You need:
- A Zendesk account with API token access enabled.
- The subdomain for your Zendesk instance (the part before
.zendesk.com). - An API token generated in Zendesk Admin.
- The email address of the agent account the token belongs to.
The API token is shown only once when you create it. Copy it before closing the dialog.
To generate an API token:
In Zendesk, go to Admin Center → Apps and Integrations → APIs → Zendesk API.
Enable Token Access if it is not already on.
Click the + button next to API tokens, give the token a descriptive name, and click Create.
Copy the token immediately and store it somewhere safe.
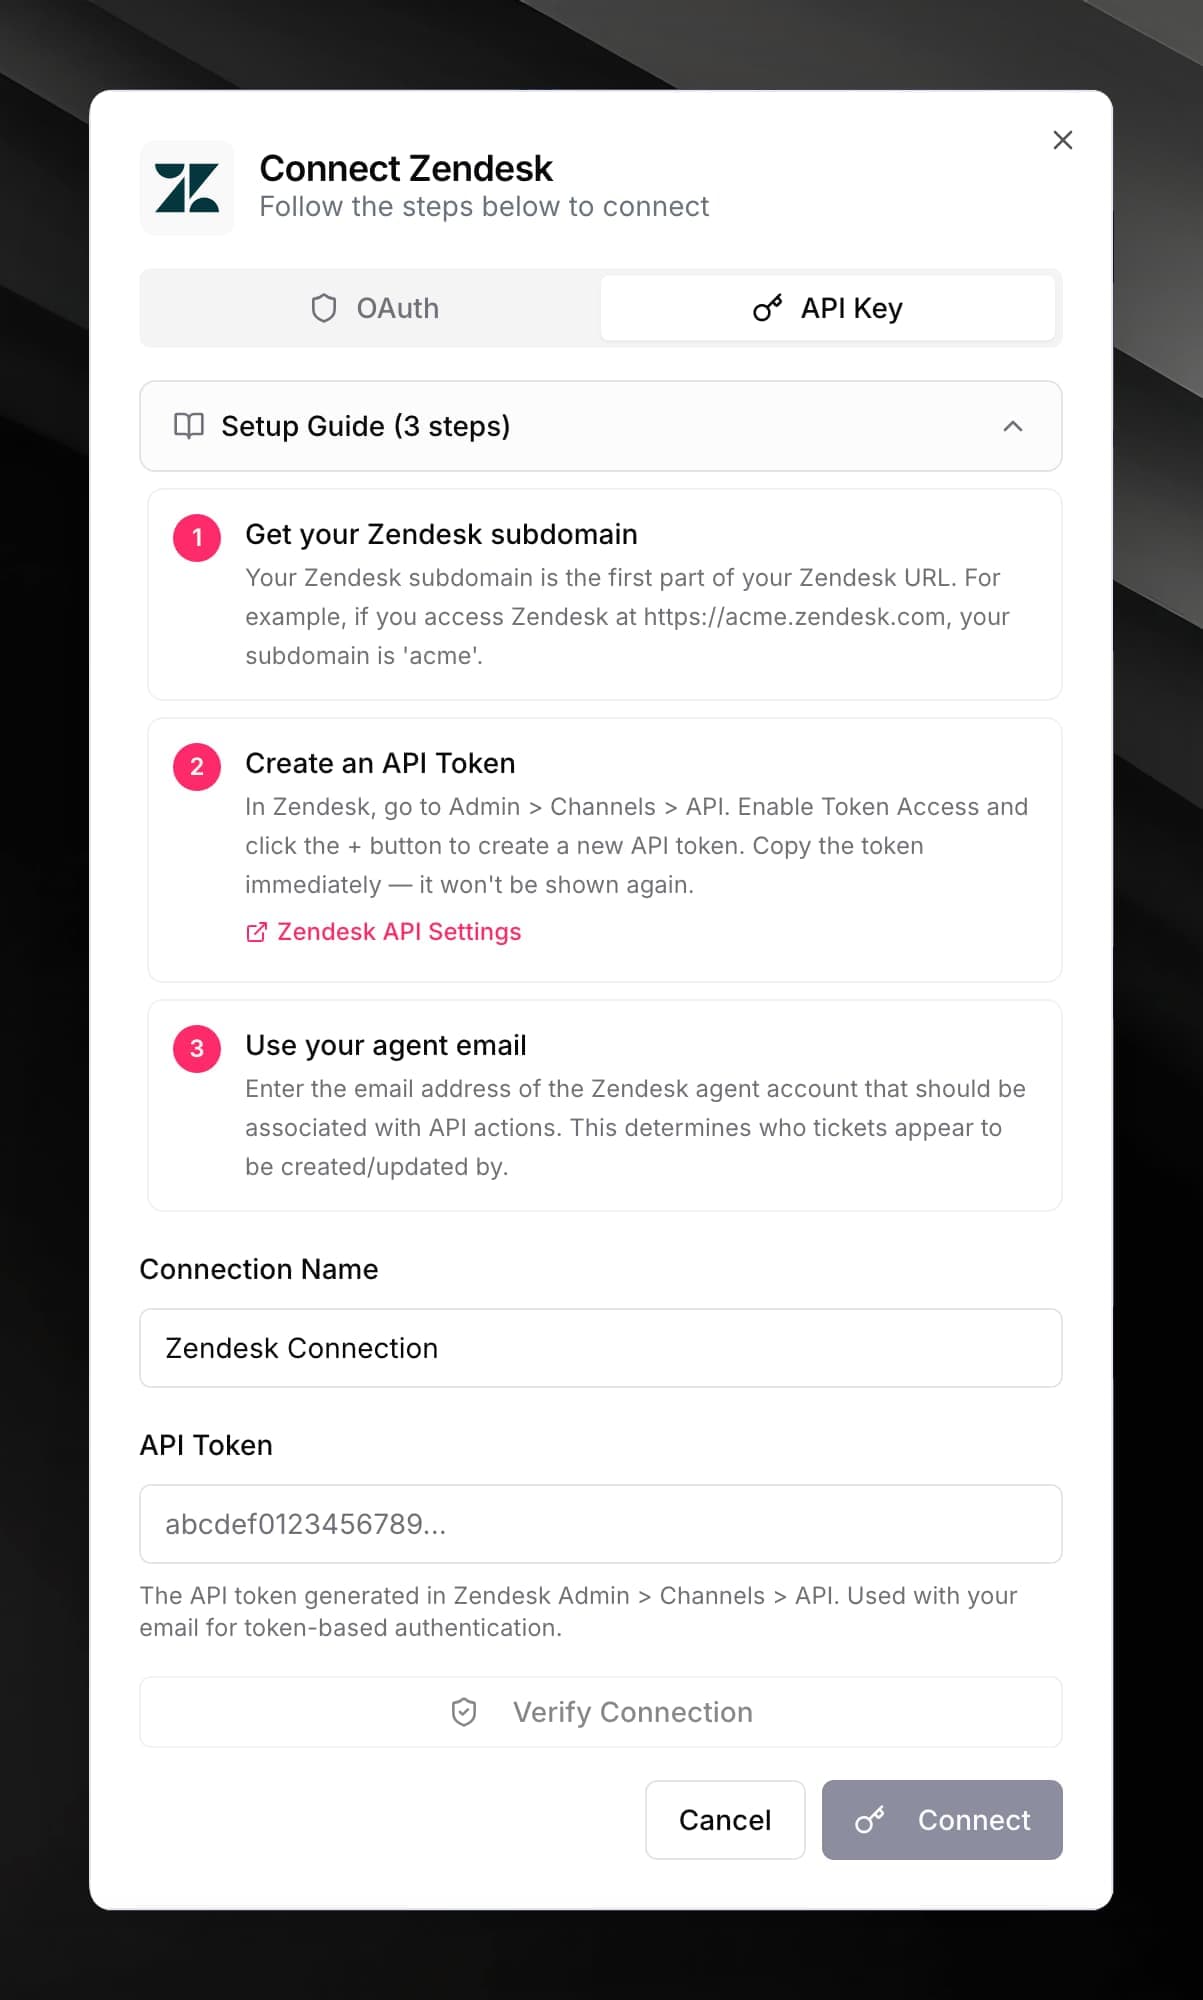
Connect Zendesk
Open your agent in Mojar and go to Integrations in the sidebar.
Find Zendesk in the list of available providers and click Connect.
Fill in the credential form:
| Field | Value |
|---|---|
| Subdomain | The part before .zendesk.com — for example, acme |
| Agent Email | Email of the Zendesk account that owns the token |
| API Token | The token you generated above |
Click Save. Mojar validates the credentials against your Zendesk instance.
Use it in a workflow
Open the workflow editor and add a new node where you want the Zendesk action to happen.
Select Zendesk as the connector.
Choose an Action — Create ticket, Update ticket, Get ticket, or Add comment.
Fill in the action fields. Key fields by action:
Create ticket
- Subject — the ticket title (supports
{{variables}}) - Body — the first message body
- Priority —
low,normal,high, orurgent - Requester Email (optional) — the customer's email address
- Tags (optional) — comma-separated
Update ticket / Add comment / Get ticket
- Ticket ID — the numeric Zendesk ticket ID; use the search button to find tickets
Connect the output of the Zendesk node to the next step in your workflow. The node returns
ticketId, status, subject, and url for created tickets.Tickets are created under the agent email you configured. If you want tickets to appear from a specific customer, set the Requester Email field.